I found a machining book online from the 1920’s, it described a method (one that I had not heard of before) for checking a lathe tailstock for accurate alignment, which allows the machine to cut straight when turning between centers
The method it described was to mount a test bar between centers, take a cut at one end, then, without moving the cutter, remove the bar, swap ends, and take the same cut. Any difference between the resulting diameters would be how much taper the machine is cutting.
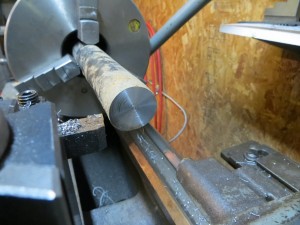
First we face both ends of our test bar so we can drill an accurate center hole.
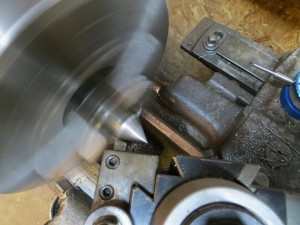
Now we true up the head end center to make sure it runs dead true.
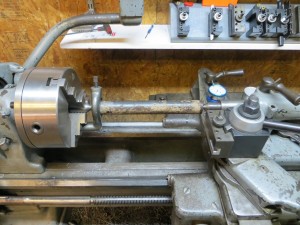
Mount between centers and drive with a lathe dog
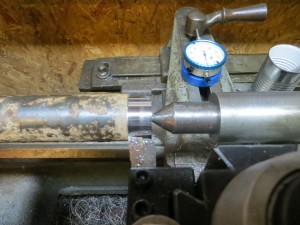
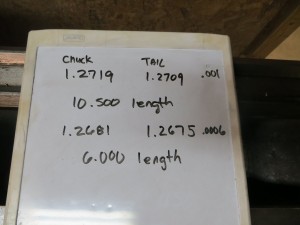
We turn one end down (depth was .050), and without moving the crossslide, swap the test bar end for end and make the same cut. Now we can measure each end, and any size difference will be due to the tailstock not being on center
.001″ in a 10 1/2″ is outstanding! I did a repeat on a shorter peice to verify…6 ten thousandths of an inch…pretty good for a machine built in 1942!!!!

